
Let's face it: even the most epic events can get slow sometimes. Speech drones on, conversations dry up, and the energy dips. In such moments, you would need something to swap those “is-this-over-yet” sighs for cheers and shared laughter.
Photo booths with Pixely liven up events or gatherings and let you capture, share, and cherish those hilarious and heartwarming moments.
Plus, through Pixely-powered photo booths, you can score some sweet side hustles during a break from your regular gig or off-season. It’s a perfect way to make the most of your downtime.
Curious to learn more about the workings of Pixely? Check out below!
How Does the Pixely Web App Work
The Pixely web app is where you initially sign up and create an event. Events can be any occasion, like a birthday bash, wedding, college reunion, you name it. In Pixely, each event is an umbrella folder that houses all the photos that you capture. Within an event, Pixely automatically organizes the pictures of that specific occasion or gathering.
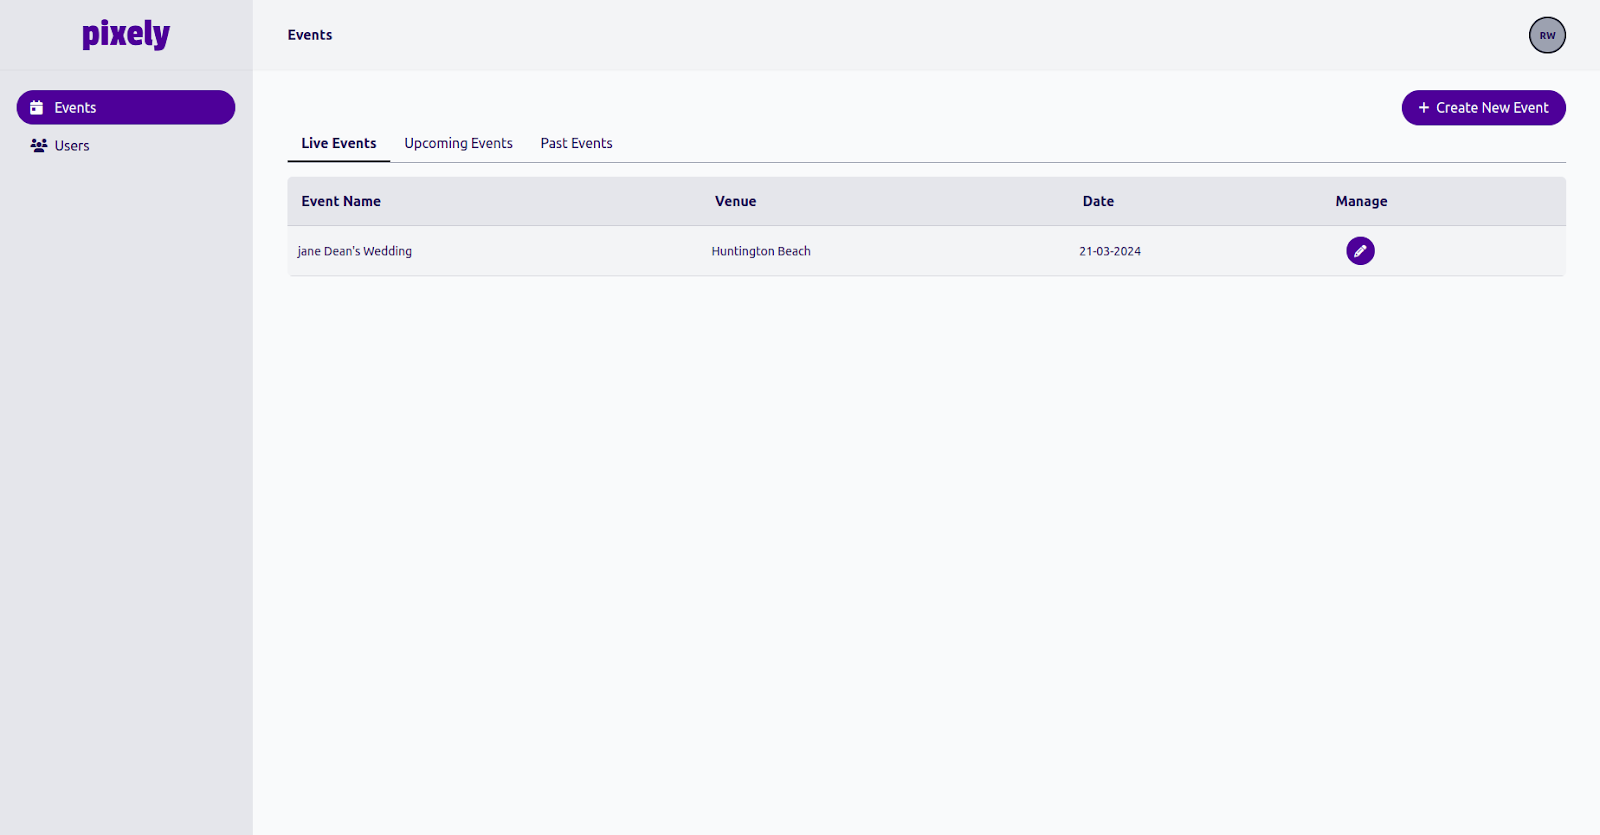
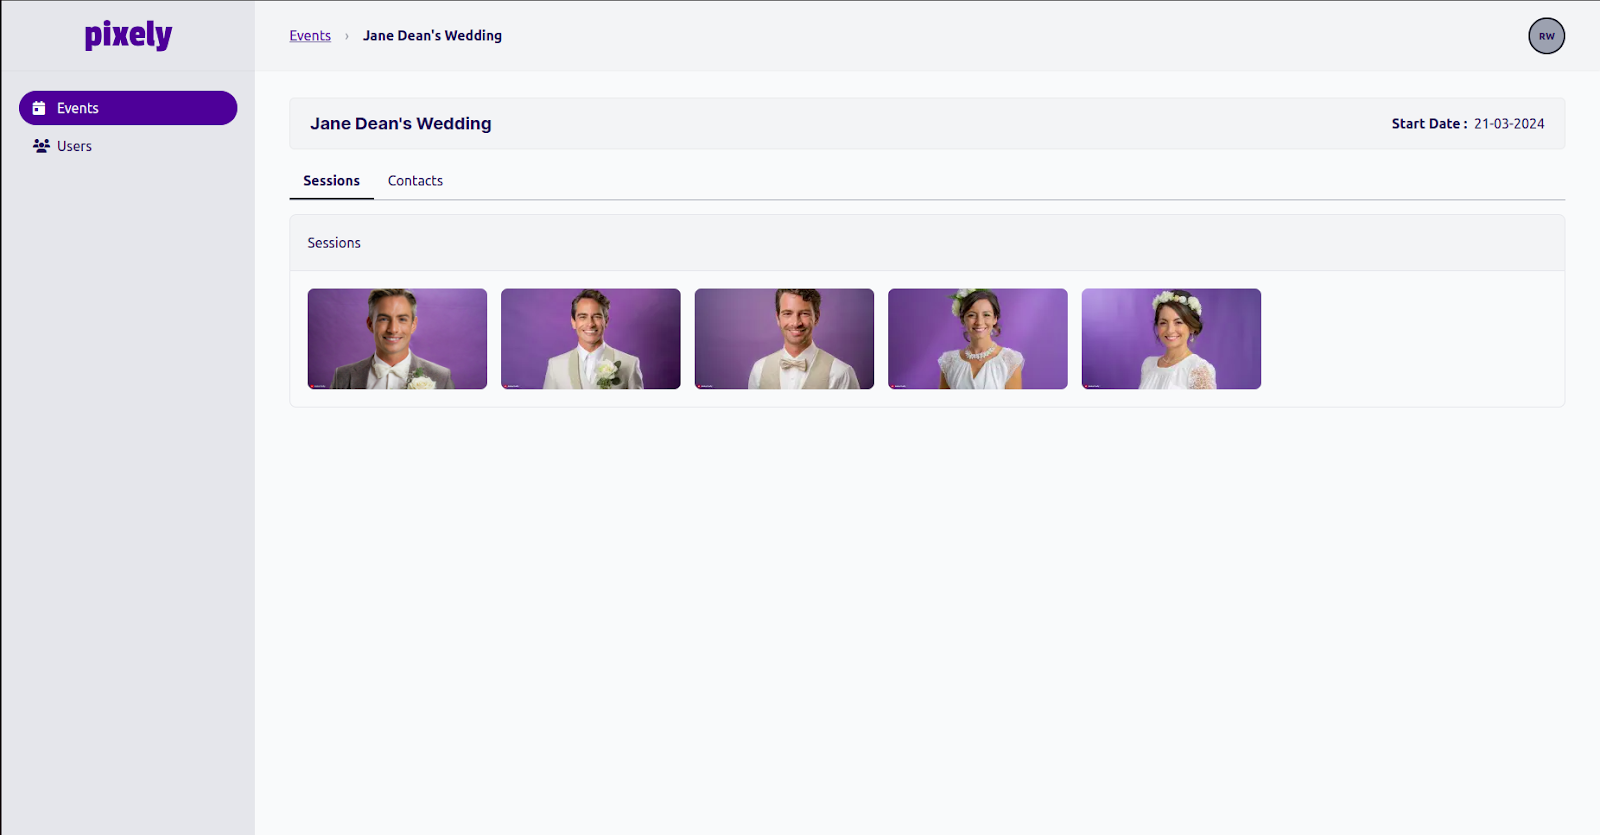
You can also see “Sessions” on the web app.
A session is the time a guest spends with the photographer–from posing in front of the camera to sharing those photos with them. During a session, a guest can take one or more photos. The captured photos are saved in a session folder and can be accessed from the “Sessions” tab within that event on the web app.
Right now, you can take any number of sessions within an event.
In the “Contacts” section within an event, Pixely lists all the contact information of the guests captured during every session of that event. When you click on a contact, the user can view all the photos from multiple sessions tagged to that contact.
How Does the Pixely Photo Booth iPhone App Work
Pixely’s iPhone app is the main photo booth interface. It works in conjunction with our web app. After you sign up to our web app and have created your first event, download the Pixely iPhone app on your device and log in using web app credentials. The first screen that you’ll be directed to will be the events page.
A quick note: On any day, only events scheduled for that date will appear on the “Events” page. Live events are also listed on the “Events” page. This is only applicable to the iPhone app.
Select that event and tap the “Start Event” button to make the event live (each event will remain active for 48 hours once it’s started). You will be directed to the “Start Session” page. From here, you can configure your camera.
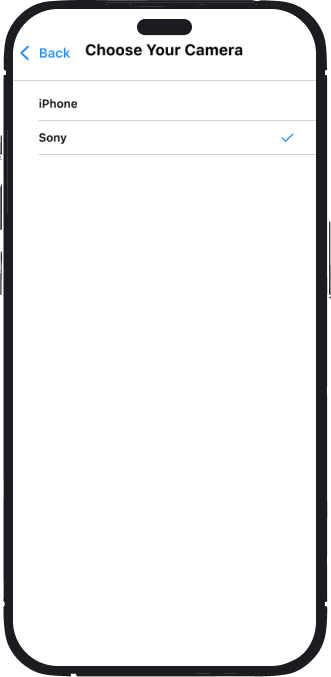
By default, we use an iPhone camera. If you want to connect a Sony camera, tap “Choose Your Camera” and select Sony.
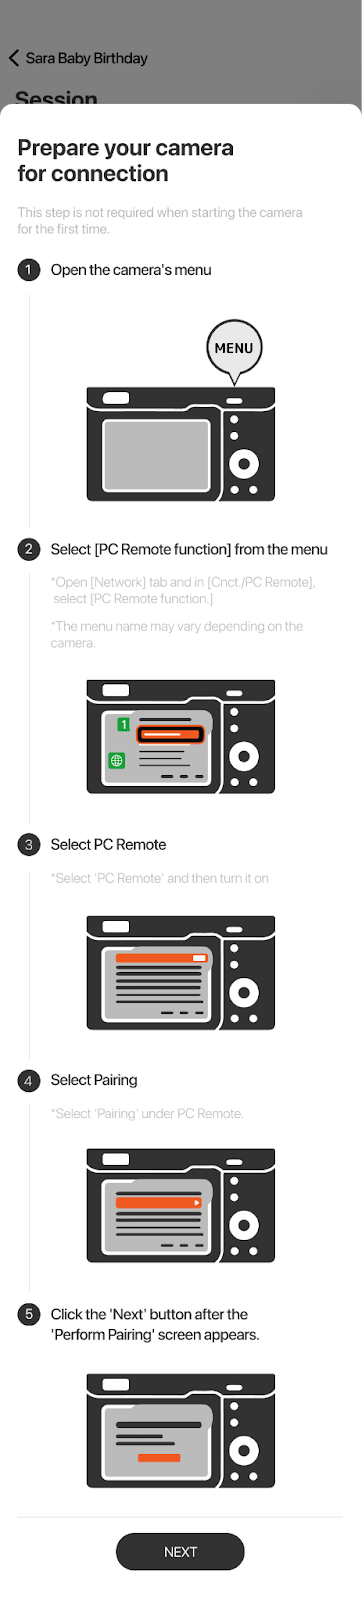
You will be guided through the steps to connect your camera to the app. Connect the camera and the iPhone to a Wi-Fi hotspot to get uninterrupted internet and avoid firewalls at the event.
Now, you can start your first session by tapping the “Start Session” button.
Once the connection is established successfully, a green indicator will appear on the top of the app screen. Now, you can start your photo booth session.
Within a session, you’ll see an interface, as shown below, if you’re using an external camera.
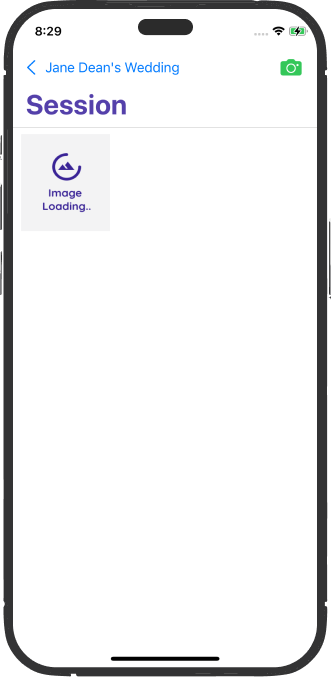
If you’re using the iPhone camera, the interface is as shown below.
From both interfaces (external camera and iPhone), you can capture the photos of your guests. These photos will be populated in a grid view. Once you’re done capturing the photos, select the photos you want to share with your guests and tap “Next.”
You’ll be directed to a form where you can enter the contact details (name and email) of your guests. When you tap the “Submit” button, all the selected photos will be saved to the Pixely server as well as the Pixely folder on your device. An email will be sent to your guest with a link to the microsite where their photos are delivered.
PS: Once the event is made live, it will remain live for 48 hours.
Delivering Photos to Your Guests
The selected photos of your guests in a session are delivered through a microsite.
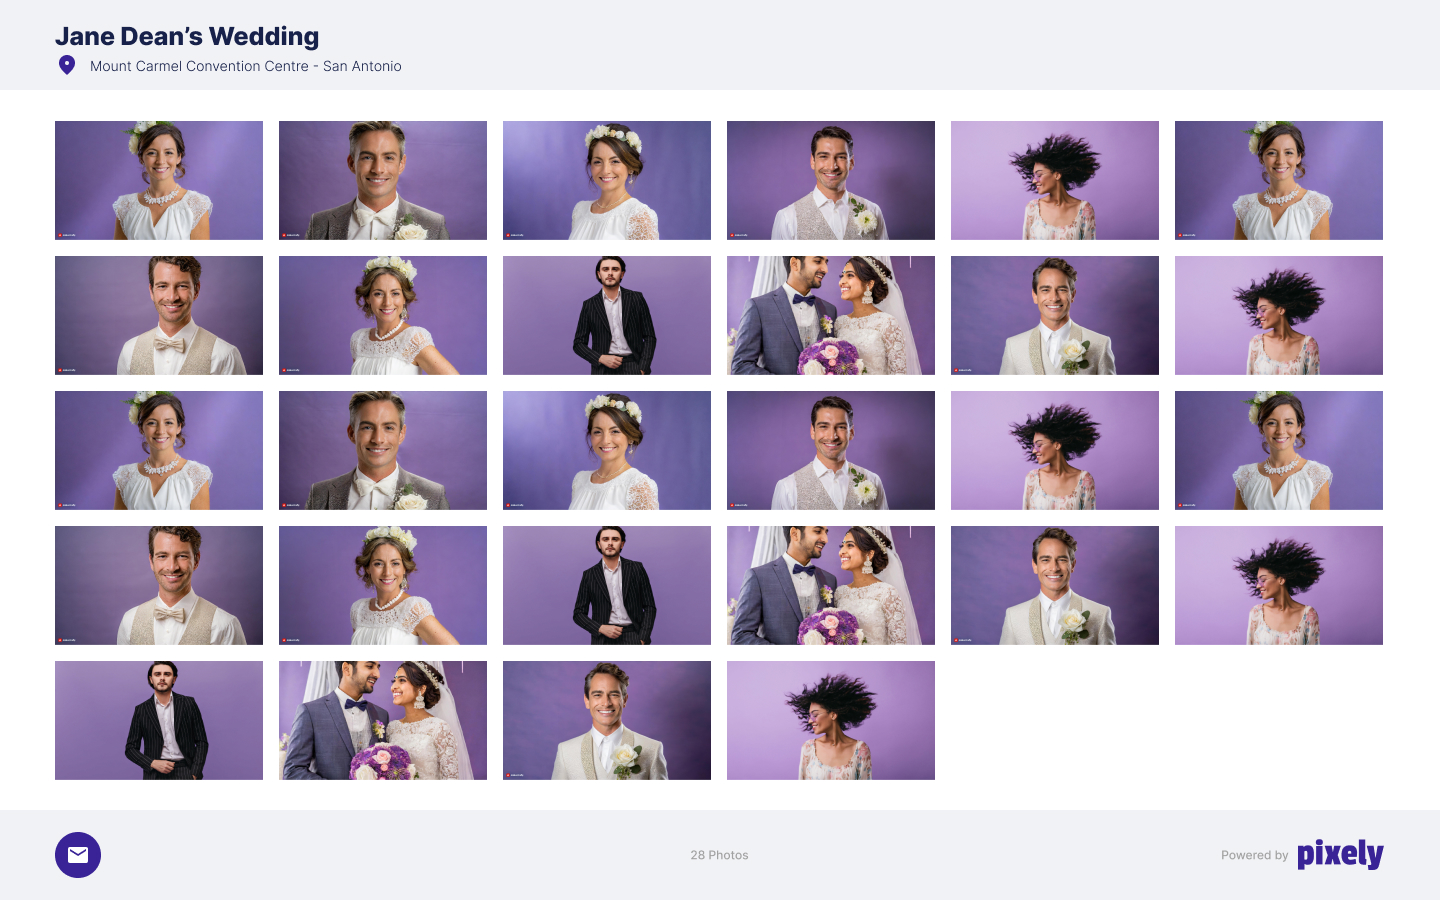
An email will be sent to your guest with a link to the microsite when you tap the “Submit” button in the contact form. From the microsite, your guests can view and download their photos.
If you want to deliver photos as printed souvenirs, launch any printer app of your choice on your device. Navigate to the Pixely folder where you can see the selected photos of the just concluded session. Choose the photos and print them.
Make every moment magical with Pixely. Explore Pixely on the web. You can also download the Pixely app for iPhone from the App Store to capture everlasting memories.